Long time no see, Ruly readers! This year has generally come down to a choice between blogging about organizing and actually doing my organizing. I have been working on a lot of great projects but have been terrible about keeping you updated. While I wish …
What a grand weekend it has been! There has been so much to worry about in the news lately with the Paris shootings and the escalating situation in Syria. While consciously, I know that I am in little danger, you can’t be exposed to news …
Inspired by a designer wreath, my Thanksgiving wreath design.
I have needed a wreath for my front door to fill the holiday gap between Halloween and Christmas. I have my black tulle wreath for Halloween and usually try to find a fresh pine wreath for Christmas but November has a gap.
Early this fall, while flipping quickly through a design catalog, I came across an unusual wreath of ruffled burlap with orange flowers. I thought the materials and colors perfectly reflected November. It was quite expensive but I tore out the page for inspiration, wondering if I could make my own version.
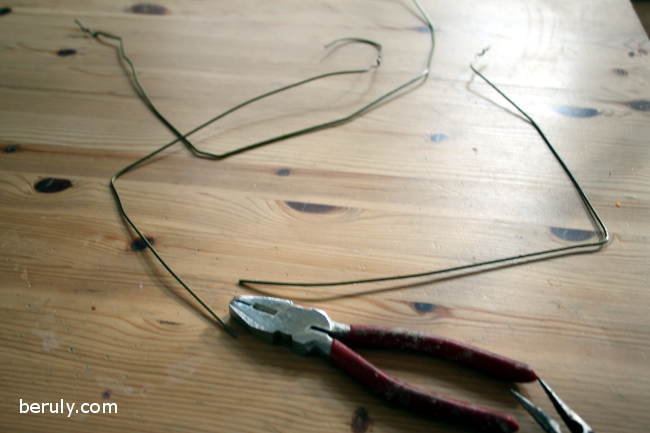
I began by making a base for the wreath from two wire coat hangers, leaving one end open.
Two wire coat hangers became the base for my wreath.
I then cut simple long rectangles of burlap about 13″ wide and a yard or two long, folded them in half and sewed tubes.
Stitching the burlap tubes.
I used two tubes and slid them onto the open hanger, stitching the tubes together by hand.
Adding the burlap tubes to the wreath form.
At this point, there was some creative hand sewing to get the ruffles just right. I don’t really have instructions for this. I just made stitches where necessary to keep the ruffles bunching correctly. (I also realized that in most craft projects there probably is a lot of this “fussy” behind the scenes detail work, which is why most of us never end up with a result that looks exactly like the instructions we are following.)
Then, it was time to make the flowers. I was inspired by some handmade flowers my artistic aunt recently created. I googled how to make them and came up with this video.
I used leftover polyester fabric from our Halloween costumes. The first step was to cut out circles from the fabric, which I did much of while waiting for my children’s soccer lessons.
Cutting lots of circles of various sizes from orange and yellow polyester fabric.
The next step was FIRE! You hold the edge of the fabric near a candle flame, just long enough to melt the edge and curl it but without singeing it or burning it. It took some practice before I stopped burning the fabric.
Burning the edges of the circles with a candle to make them curl and seal the ends.
The YouTube tutorial suggested cutting small slits in each circle to create petal shapes. These were rather difficult to burn and I singed the ends of most of my first few flowers. When I looked at my aunt’s example, it seemed that she did not cut the slits and just used the circles whole. I tried this technique and it was far easier and just as beautiful.
Two options for burning patterns: on the left, the result of burning the circle uncut. On the right, cutting small slits in the circle before burning to create more of a petal shape.
I then had a whole stack of petals on the table. I started showing my daughter how to stack all the orange together and all the yellow together to make the flowers I had in mind based on the tutorial.
A large collection of burnt petals.
My daughter took one look at my examples and the huge collection of petals and informed me that I was being far too restrictive in my combinations. She quickly pulled together the most beautiful combinations of yellow and orange and also told me to make some with just the small petals so I had flowers of different sizes. Her artistic talents amaze me sometimes.
My daughter inspired me to combine the the petals in various combinations to create more interest.
The next step was to hand sew a few stitches to keep the petals together in the finished flowers. My youngest daughter informed me that she wanted to learn how to do this. We sewed the first few together, with me pushing in the needle and her pulling it through. Then I gave her a threaded needle and told her to try it herself. She did a beautiful job!
Sewing flowers with the help of my daughter.The pile of finished flowers.
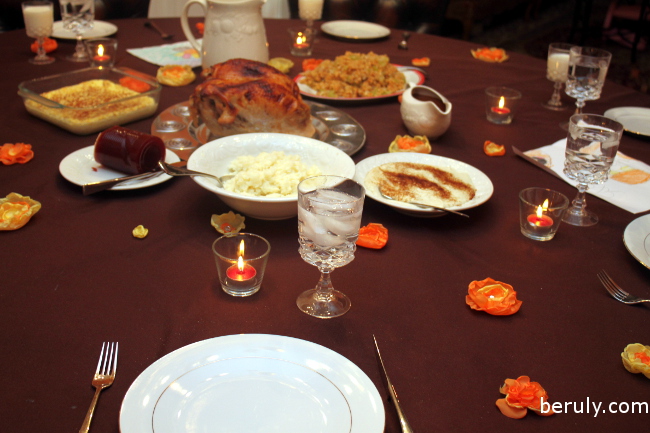
My daughters had big plans for these flowers. They wanted to sprinkle them all over our Thanksgiving table as decorations. Fortunately, we had some left over and their plans were realized. They looked amazing!
A simple but elegant touch sprinkling the flowers all over the Thanksgiving table!
It was then time to attach the flowers to the burlap base. While you could glue them, I like to be able to wash my wreaths before I put them into storage so I sewed the flowers on by hand. This was another part of the process where there aren’t specific instructions but a loose method of figuring out how many to use and where to put them. In the designer example I was following they bunched them all on one side.
To finish it off, I added a tulle hanger loop and a tulle bow. I also used more hidden tulle as ties to help with bunching the burlap together attractively.
In the end, I had something similar to my designer example but a bit more simplified. I love how it came out and it means even more to me seeing the work of my daughters reflected in it too.
It has been quite a weekend and I am still in disbelief that it is the first of December! We started off with weather drama–our first snow of the season! It was only a dusting that melted quickly but enough to cause panic. We did …
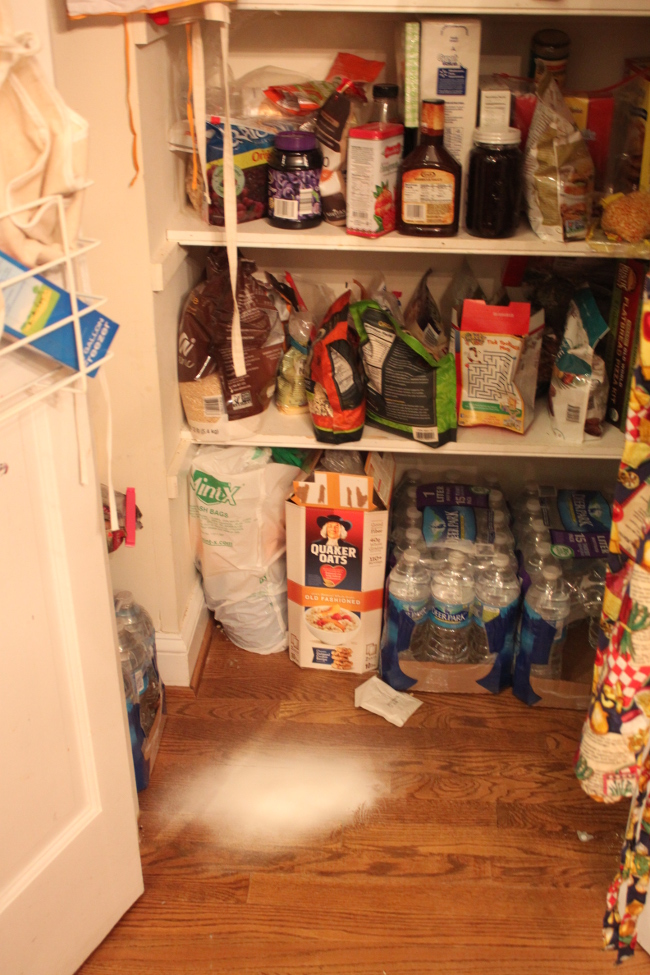
As the holiday season approaches, one of the most dreaded tasks is cleaning your house for hosting guests. There is enough to do with all the cooking and decorating but the cleaning obligations can take over your life! I have been immersed in a fall …