Use What You Have Organizing: Kids Office Makeover

One of the biggest complaints I read about organizing blogs is that all they seem to do is ask you to buy more stuff. It is true that sometimes strategic purchases will give you a huge boost in your organizing efforts but organizing also takes place when you purchase nothing at all! In this post, I wanted to highlight a recent project I completed for my kids that cost me absolutely nothing.
In our home office, we dedicate a portion of the space for use by our children. Just like adults, kids today need a desk, chair and computer to do their work. Our office is mostly comprised of IKEA furniture and it has served us well for many years. But the kids section in particular has become quite hammered. Their desk has scuffs and paint stains. Their chairs also are covered in paint and the seats are torn in spots.

I walked into the office one day and decided I had just had it with those chairs and desk. They needed upgrades….now! I wondered if I could just staple some new material over the chair seats. Upon closer inspection, I noticed that the chair covers were really just drawstring cases.
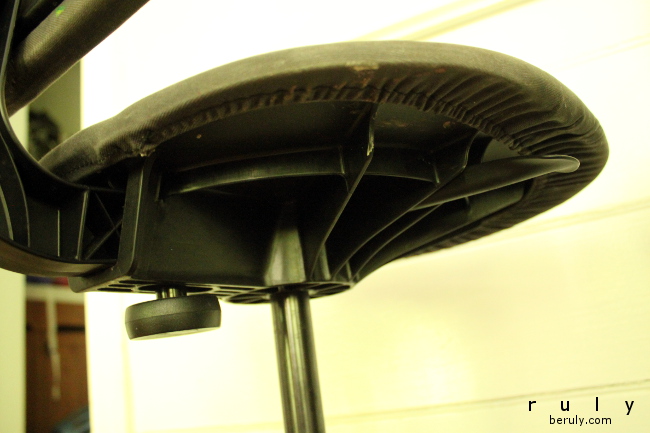
This was even better for me. I didn’t need to learn to use a staple gun. I could just fall back to my old reliable sewing machine!


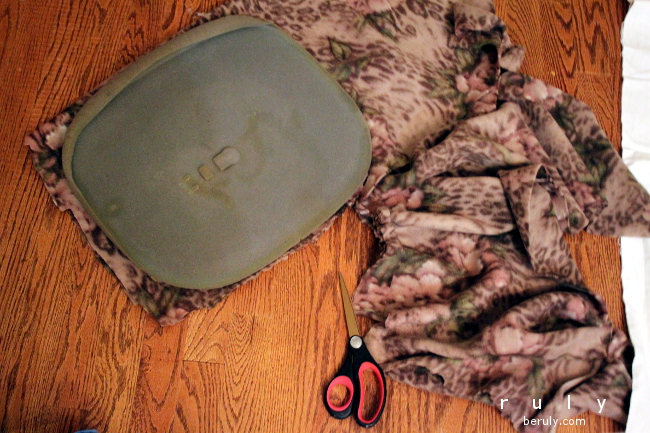
I happened to have some heavy duty canvas fabric in my stash. The only problem was that it was white! I am a bit nervous using white for these cushions but my husband advises that we can always bleach them when they get dirty.
To make the new cushions, I laid down the old cushions on the fabric. I measured how far it was from the edge of the cushion to the end of the drawstring casing and drew a line that far out on the fabric. I then added another inch for seam allowance (but wish I had added an inch and a half).

Pulling the drawstring tight and fitting it back on the chair takes a little muscle power. The heavy upholstery fabrics don’t like to be gathered. I also found it was necessary to salvage the cord IKEA had used for their drawstring as I didn’t have anything that heavy duty.
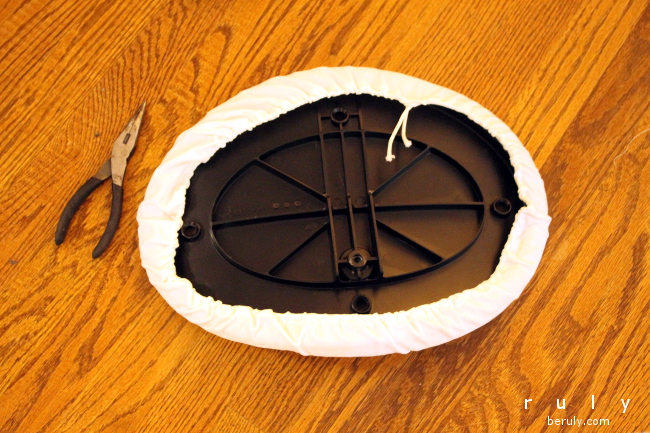
My fabric would not pull as tight as the original IKEA fabric but it pulled tight enough. If you wanted to be a perfectionist about this, you would buy fabric with a little stretch in it (but then it wouldn’t be a “use what you have” project!).
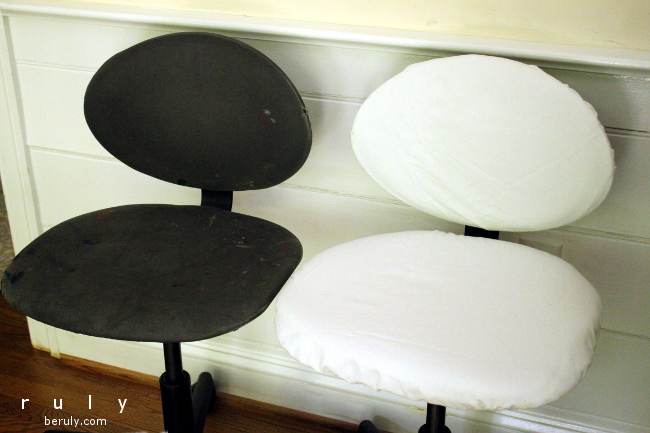
I needed my husband’s strength to pop the plastic back of the chair back on and screw back in the screw but all the rest I could do myself.
Next, it was on to the desk.


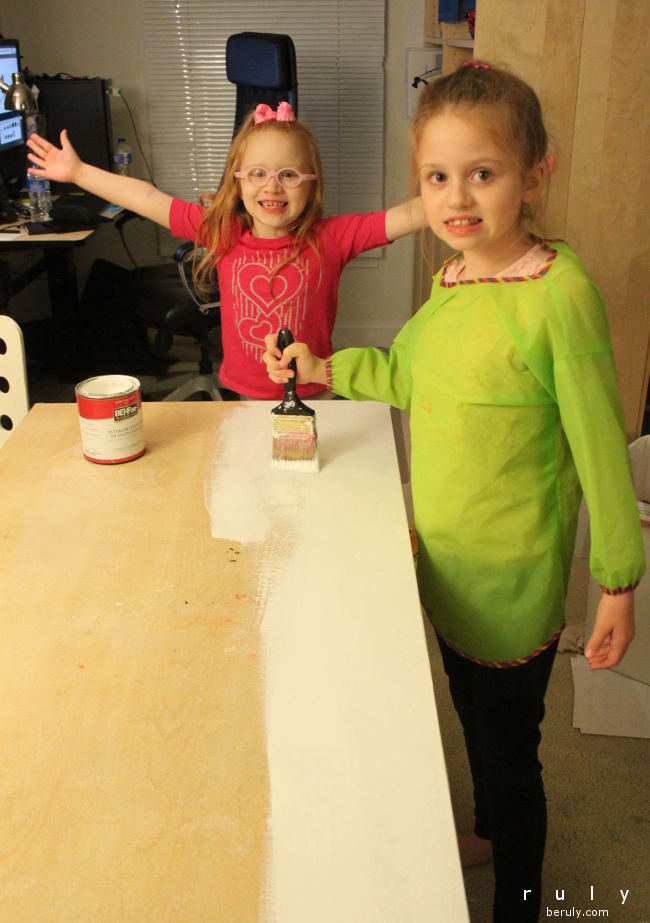
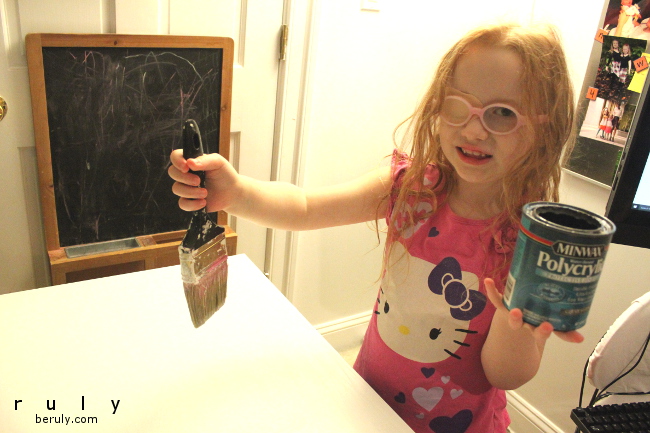
I learned a trick from a Home Depot employee years ago. I wanted to stain wood a color that wasn’t available in the rainbow of stain colors. “You could always paint it,” he said. I explained that paint would likely wear off my project due to heavy use. “Why don’t you paint it and then coat it with Polycrylic for protection?” Well, I tried this and it works beautifully! This is a great technique because you can use any color in the rainbow of paint colors. If you want more of a wood stain look then dilute your latex paint with water to make more of a wash.


Overall, this project saved us about $100 over buying a new desk and chairs. It also put to good use some of my excess crafting materials and was environmentally friendly. The only thing that got tossed into the landfill was the old, dirty seat covers.

My children seem to appreciate the new desk and more comfortable chairs. They are also proud of the work they put into it as well.
If you want a similar boost for your office, start with a simple cleanup! File away all of your papers to get a clean desk surface. This alone makes the biggest difference. Then, take a look at your desktop, would a coat of paint and some Polycrylic revitalize the surface? Reupholstering chairs is a bit more complicated but if you know how to sew (or if your chairs can be staple-gunned) give it a try!