The Final Step: Staining to Match Existing Hardwood Flooring
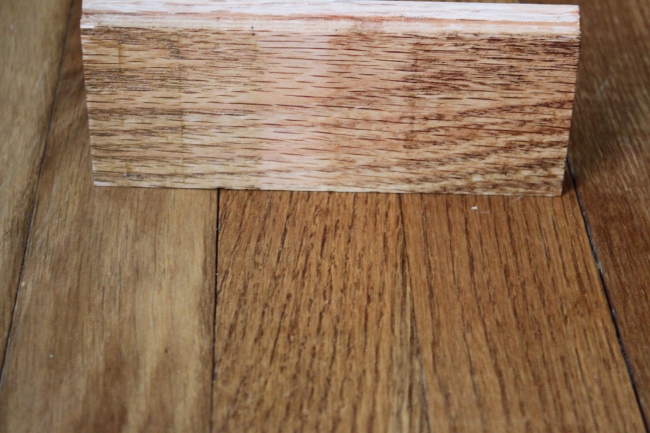
The saga of our hardwood flooring is nearing its end. The last step was to stain and finish to match the existing hardwood flooring. This step is fraught with problems because if you screw this part up, you effectively ruin the project. The color of the flooring makes such a difference in the overall result. This may explain why most hardwood flooring sales these days are prefinished floors. You know exactly what you are going to get in the end with a prefinished floor.
It was interesting for us to learn that there are millions of contractors out there who do the carpentry/installation part of the flooring but very few who do staining and refinishing. Those that do staining and refinishing tend to be immigrants. Staining and refinishing is hard work. It is messy. It involves a lot of fumes and takes time. It also requires someone with an artistic sense in addition to the technical installation knowledge.
I knew that this part of the project was going to be the most difficult so I did two things to prepare:
- I did a test sample on my own to figure out the stain we needed.
- Based on my sample test, I made sure to negotiate in my installation contract for up to 3 coats of stain and to specify the types of materials we wanted used.
Test Sample. Before we purchased our unfinished flooring, I did the test sample. No one told me to do a test sample but after we had such a hard time finding any prefinished hardwood flooring to match our existing flooring, I had to make sure that we could do better with a custom stain.
Custom Stain. The flooring store provided us with a small free sample of the unfinished flooring we intended to buy. We then tested two different types of stains. It was recommended that we go to a high-end paint store, bring a sample of our flooring and have them scan and color-match the stain. The only section of the existing flooring that we could pry up easily was a section of quarter-round. It wasn’t the best specimen of our floor’s color but it was all we could provide. We put the color-matched stain on the test board, putting down one coat from the middle of the board to the end. When we came back for the second coat, we taped off about a one-inch strip with just one coat and painted a second coat from the tape to the end. For the third coat, we taped off another one-inch strip with two coats and painted the third coat to the end. That way, we could compare whether we wanted one, two or three coats.
Minwax Stains. The next route we tried was to attempt to match the stain with premixed Minwax wood stains commonly available at most hardware stores. When the project manager for the flooring installer came to bid on our project, she commented that our flooring was more of a golden tone than a brown one. That insight stuck with me. To find the right Minwax tone, we took the brochure they had at the hardware store with these miniscule samples of their flooring stains. We folded the brochure to put the stain samples right against our flooring and circled the ones that were the best match. The hardware store sells very small cans of stain so it is easy to test out different colors. The first stain we tested was the “golden oak” color.
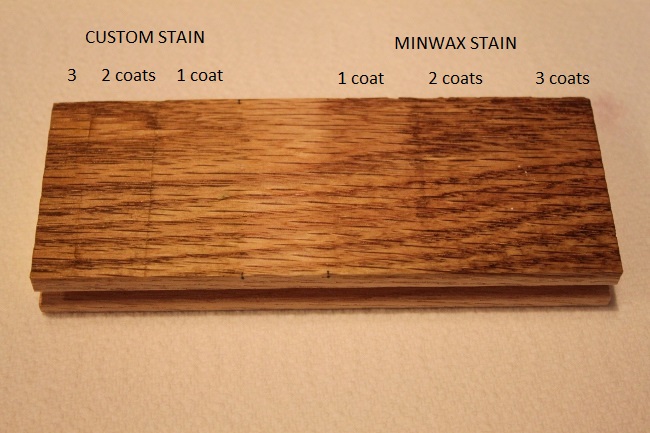
Next, we took our time holding up the finished sample board to our flooring over several days. The color of hardwood flooring looks different at different times of day and varies with light and weather conditions. It was pretty maddening trying to figure out which color was the best match. Here you can see a few examples of how different lighting changed the comparison.
 |
 |
 |
 |
 |
 |
In end, we decided that the Minwax stain matched the darker tones in the floor better and the custom stain matched the lighter tones. We had an important realization at this point that no matter how hard we tried, we were never going to be able to get the flooring 100% perfectly matched. Since wood is a natural material, there are always going to be natural variations in wood grain, stain absorption, etc. that you just can’t control. So, we decided to pick a color that was a close match that we wouldn’t might using again if we ever had to refinish the existing flooring.
I liked how the Minwax stains really enhanced the wood grain pattern. When I showed it to the experts at the flooring store, they said that most people don’t like that look because it makes the floor look “dirty.” I am probably one of the few people who was excited to hear that! If the floor naturally looks “dirty” then it will also be good at hiding dirt, which is inevitable for our family room setup.
The Contractor Arrives. With the stain color decided, we felt a little less nervous when the stain and refinish installer arrived. We told him “2 coats golden oak.” To my dismay, he shook his head and said, “No, that will be too light.” Your floor is brown. He then pulled out his stockpile of Minwax stains and said it should be one of these two stains, “Provincial” or “Early American.” “I have 40 years of experience with this.” he said.
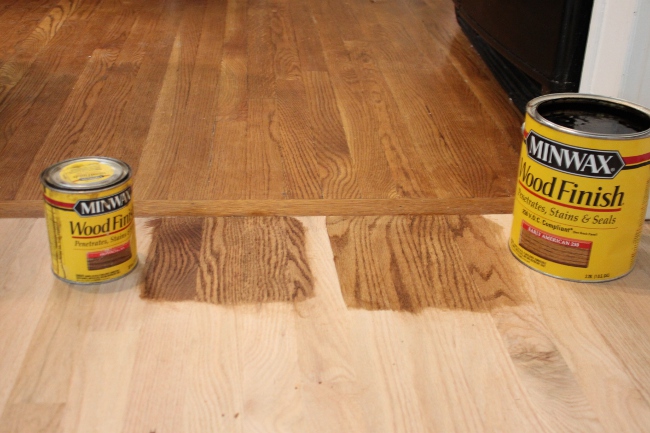
This was the last thing I needed. I didn’t want to renegotiate the stain color at the last minute—especially since I knew that stain colors are a different color dry than wet and look different colors in different lights. He put the samples down right on the unfinished flooring. When I looked at his wet samples, at first I leaned toward the “Early American” on the right but then I made him humor me by putting down a sample of the golden oak as well. We looked at it for a minute and I was convinced this was still the right color.
“The exact color is probably halfway between ‘Golden Oak’ and ‘Early American,’” I said. So, then he did something unexpected, he added a top coat of “Early American” to the golden oak sample. It had never occurred to me that you could mix the stain colors together to make new stain colors.
We came up with this:
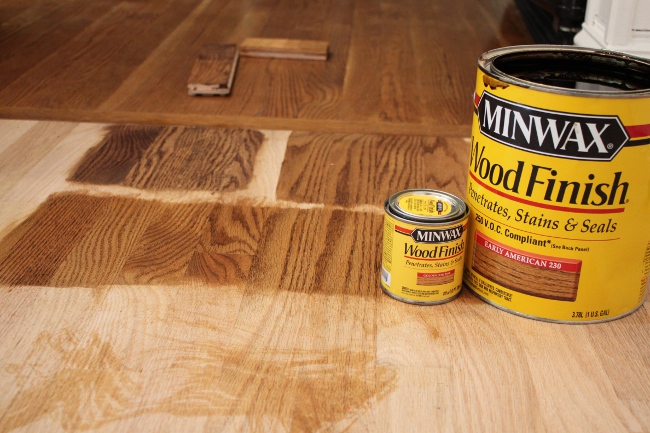
As you can see, this new color picks up the warmth of the floor and makes the Early American stain look too flat and brown. Our custom Minwax mixture ended up being a stain of one part “Early American” to 3 parts “Golden Oak.”
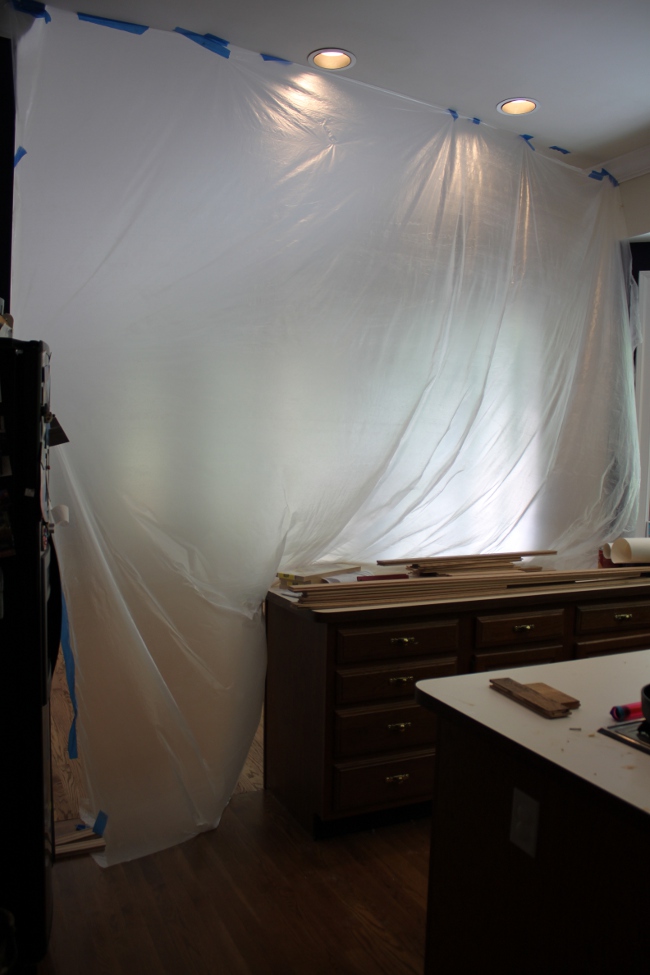
The color agreed on, he went to work sanding the floor to prepare it for staining. He put up some lightweight dropcloths and I put a second set of dropcloths over the doorways from the kitchen to the rest of the house. The double set of dropcloths really helped keep dust from going all over the house.
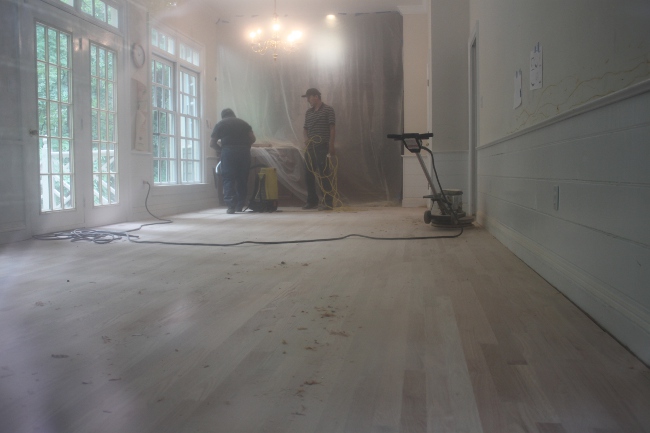
After the first coat of stain, we were getting excited.
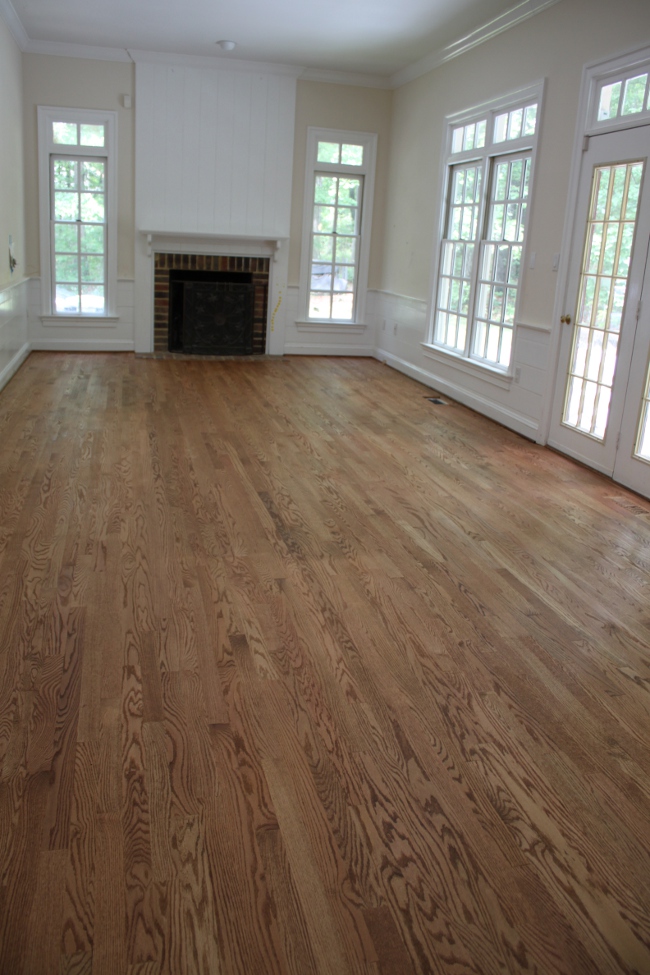
We were pretty sure we would need more than one coat of stain but apparently the standard application in our area was for just one coat of stain and the contractor wanted to push me in this direction. I had to make a call to our flooring contractor to remind them we had contracted for up to 3 coats of stain and they reassured me that we had every right to insist on up to 3 coats.
The staining contractor’s biggest concern during this project was my son! He wanted me to make sure my son didn’t go wandering into the new floor area while it was drying. I put up a baby gate to ease the contractor’s mind.
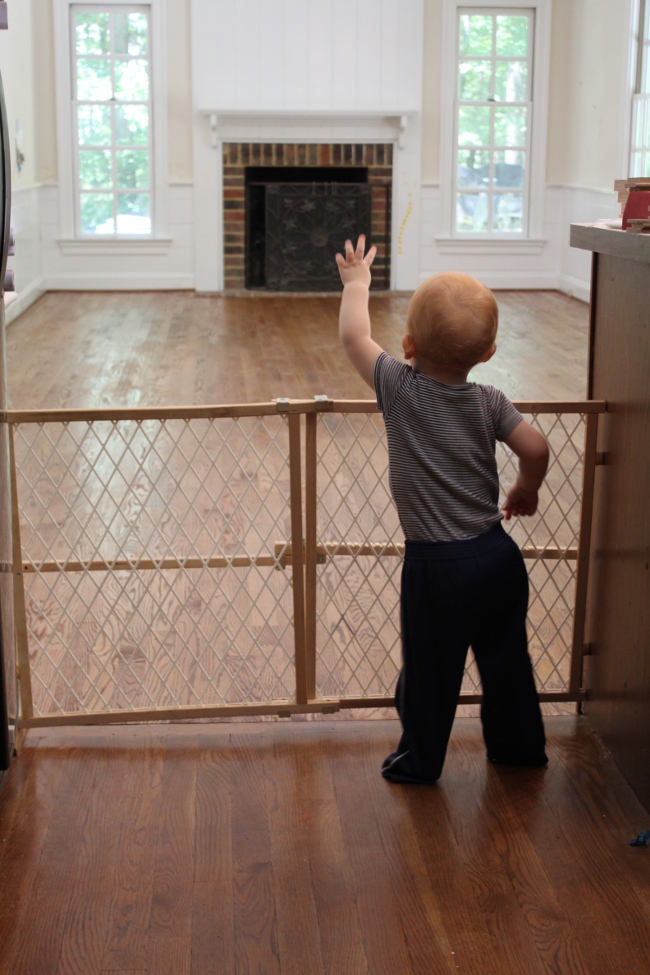
The contractor came back the next day for a second coat of stain. The stain still looked too light right after the application but we watched and waited 24 hours and it darkened considerably in that time.
 |
 |
On the third day, the contractor was disappointed to hear that I wanted a third coat of stain. He told me to turn up the heat in the house to 80 degrees so that the stain would soak in faster and so that he could put on the stain and the three coats of polyurethane today. He showed me the polyurethane he wanted to use. He said it had both oil and water in it.
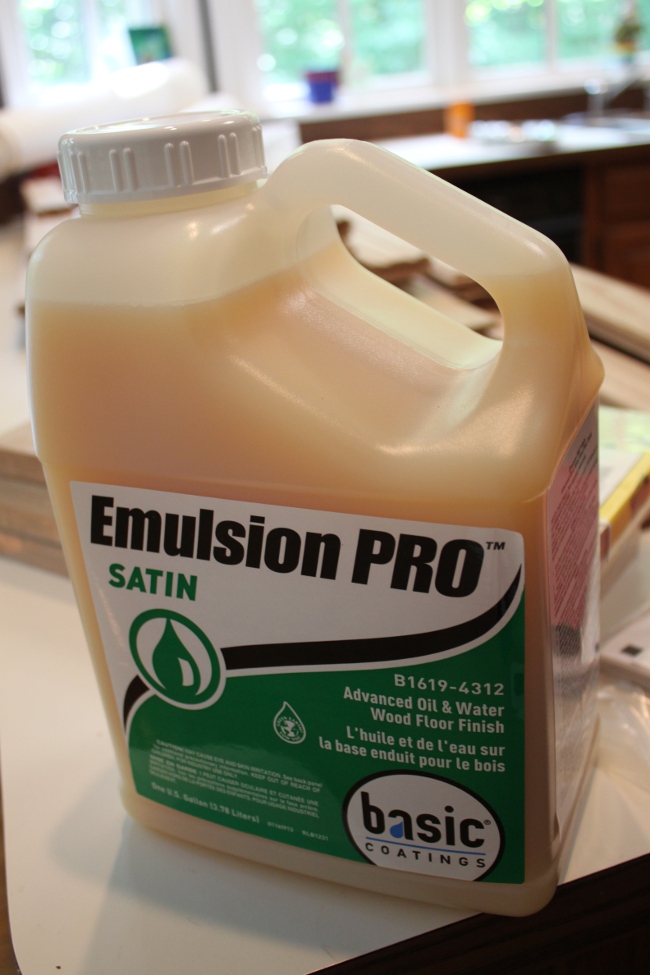
I knew that we would have problems if we used a water-based polyurethane with an oil-based stain. So I called the manufacturer to confirm. The manufacturer confirmed that as long as our oil-based stain was completely dry, we could use the product no problem.
While we waited for the third coat of stain to dry, the contractor talked to me about refreshing the finish on the existing wood flooring in our kitchen, right next to the family room. My husband and I had just assumed that at some point we would have to sand, strip and refinish the flooring. We figured we would wait to do that until we were ready to remodel our kitchen and then do all the main floor flooring at the same time.
The contractor enlightened us that unless we wanted to change the color of the stain in the flooring, it was unnecessary to strip it. You can refresh the finish of an old hardwood floor just by sanding it with a fine-grain sanding mesh, touching up any worn spots (with our leftover Minwax custom stain) and putting the same Emulsion Pro finish on top. Our kitchen had a lot of worn spots in it and this treatment really refreshed it. Plus, it helped make the transition between the old and the new flooring even more seamless.
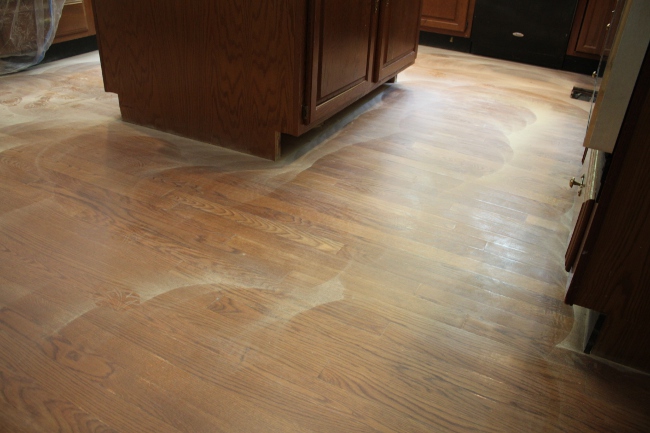
After a hard day’s work, the floor was done! While not 100% perfect, we achieved about a 90% color match and feel great about how it all turned out. Having a pro to work with really added a lot of value to our project far beyond just saving us the labor involved.
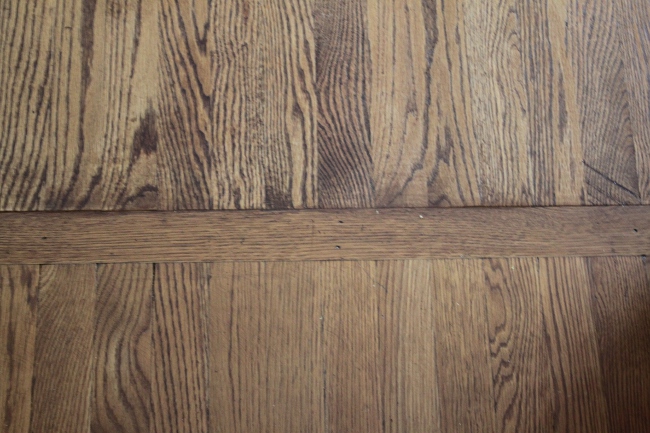
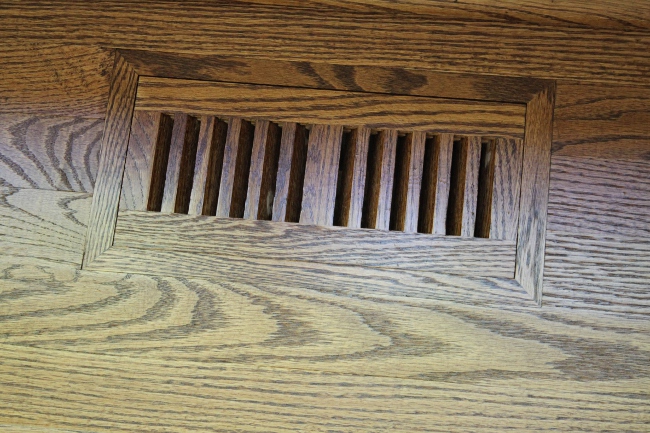
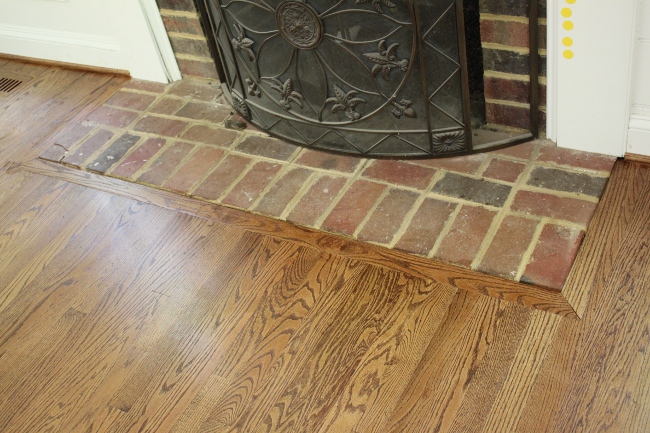
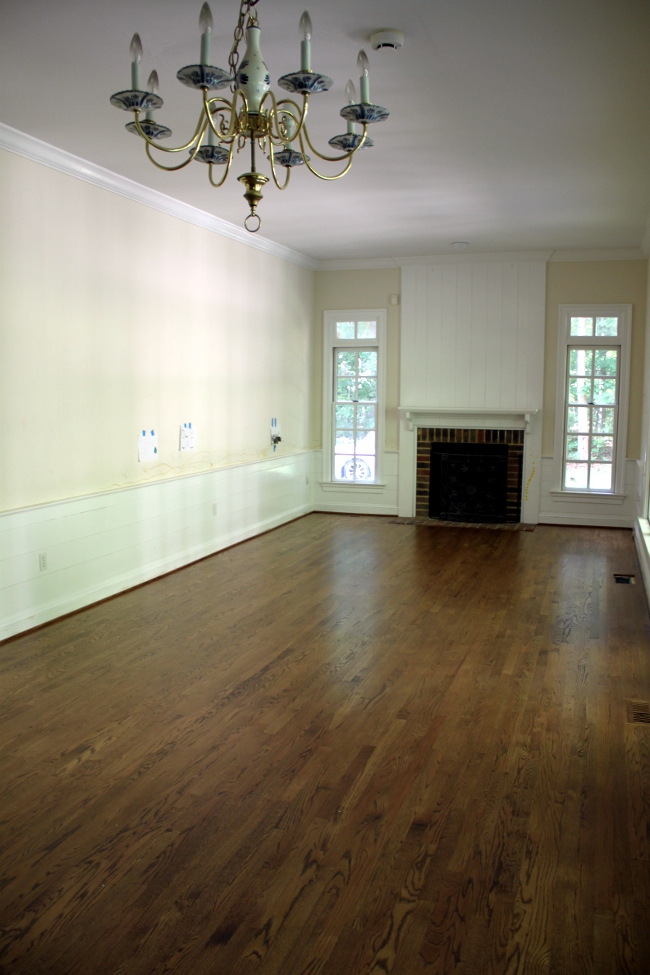
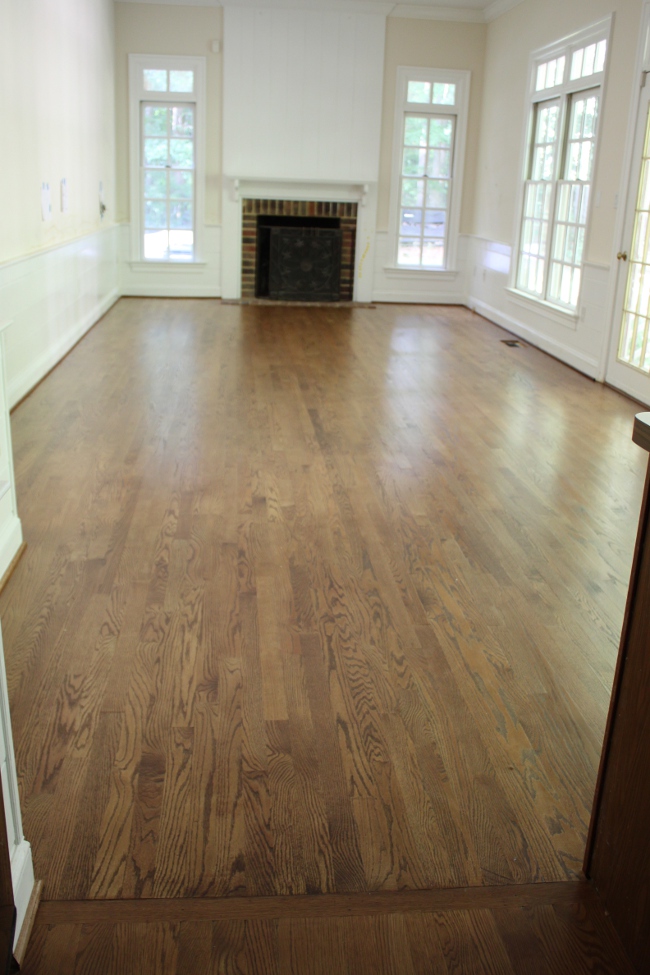
And for a satisfying before and after comparison:

The only downside of this part of the project was the fumes involved. Oil-based stains make a terrific stench and because it is hardwood flooring that can’t be exposed to a lot of humidity changes, we couldn’t open the windows to vent the stains. I tried to keep the children outside or upstairs as much as I could until the fumes died down but sometimes sleeping at night was a bit tough. If you have severe allergies, you just might want to take note of this and consider using water-based stains (which are generally less durable) or moving out for a few weeks while the fumes die down.
At this point, I still have one flooring vent to finish myself (I miscounted the flooring vents and we were short one when the installation started so we opted to just finish this part ourselves). The room will also sit largely unused and gated off for 6 months until we can lay down a rug and put furniture in. We step over the gate to do laundry, grab food from the pantry or occasionally rush out to the car but otherwise try to go the long way around to the garage or deck via the front door. That deadline turns out to be around December 1, just in time for Christmas! We can’t wait!
