Ruly Timesaver: Basic Google Maps Tutorial
I am still a bit of a luddite when it comes to car navigation tools. I don’t have a Garmin or an on-board navigation system. For most of my directions I still log on to the computer before I go, type in an address to Google Maps and print. If I get misdirected or need to change directions en route, I use the Google Maps app on my iPhone. So far, it has served me well.
If you have never used Google Maps before, it is a powerful tool that can do a lot more than just print directions. However, since directions is what I use it for the most, I wanted to give a quick tutorial on some of the things I find most useful about Google Maps.
First, you go to maps.google.com to get to the main page.
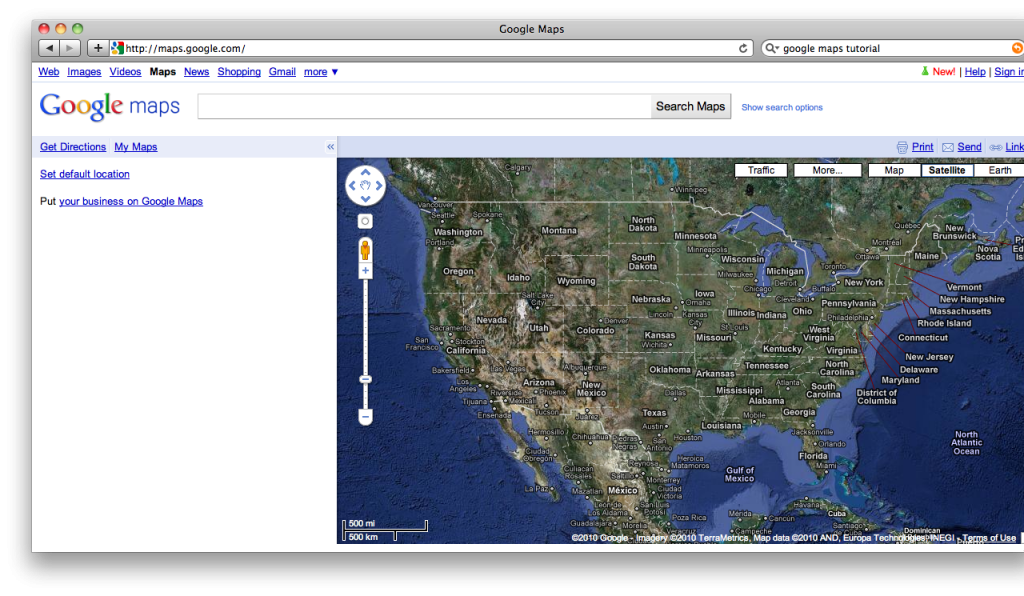
In the upper left corner, you have two choices: “Get Directions” and “My Maps.” If you click on “Get Directions, you get a little search box like this one.
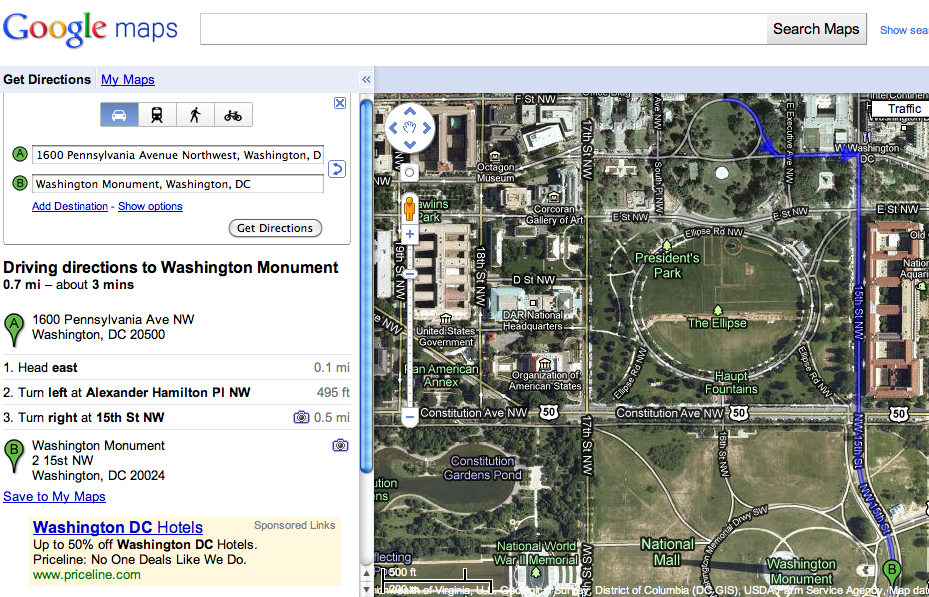
To get directions, you just type your starting address in A and your ending address in B. For our example, we will use the most famous U.S. address: 1600 Pennsylvania Avenue (a.k.a. “The White House”) and the Washington Monument. One of the great things about Google Maps is that if you don’t know the exact address of something, like a famous landmark, you just type in the name of the landmark and Google will usually figure out where it is for you. As you start typing in your address, Google will start guessing for you. If your address appears in the suggested list, just click it.

Then click the Get Directions button and you get the directions and a map overlay. We see that the Obamas could drive to the Washington Monument in just 3 minutes.
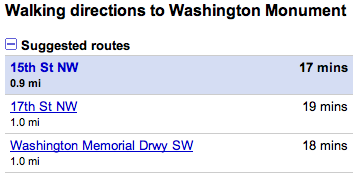
Now, suppose they wanted to walk, bicycle or take public transportation instead. Google Maps will give you directions for any of these options by clicking the bus, pedestrian or bicycle icon at the top of the page.
If there is more than one way to get to a destination, Google Maps will highlight the options for you. Just pick the choice you want and the map and directions will update.
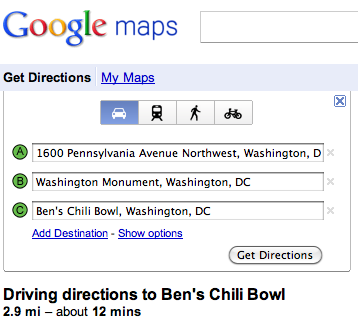
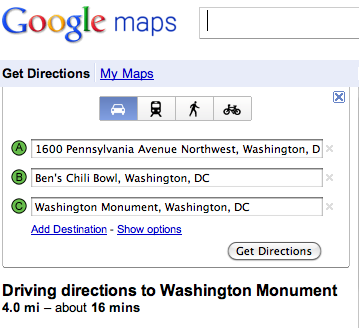
Now, suppose you want to add a third destination to your route. Say the Obamas want to stop for lunch at Ben’s Chili Bowl. Click the “Add Destination” button underneath the top two addresses and a new box, C, will appear. Just type in your destination and click “Get Directions” and Google Maps will add in directions from point B to point C.
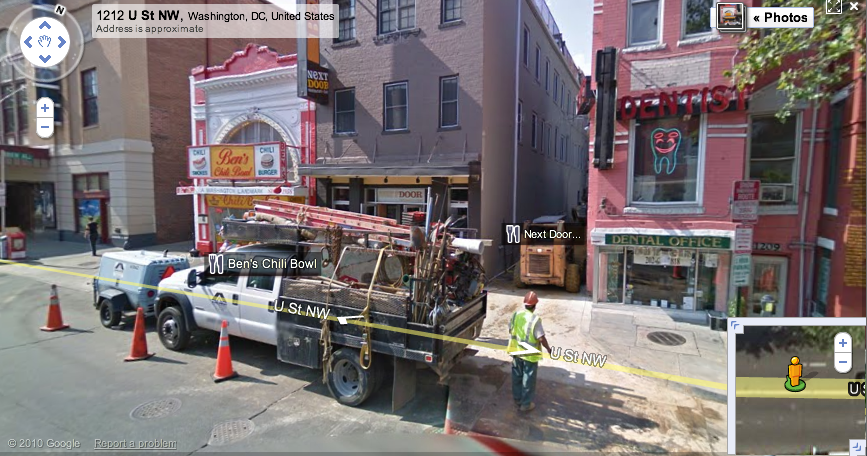
One cool feature of Google Maps is the “street view” feature. When you type in the address for Ben’s Chili Bowl on the map, it also brings up a picture of what the street looks like for that destination. This feature is not available for all addresses (such as the White House) likely for security reasons.
If you need other views of your route, Google comes to the rescue again. On the upper right corner of the map are 3 viewing options, “Map” “Satellite” and “Earth.” Satellite seems to be the default setting. Map view is your basic atlas-style rendering with street names, places of interest, etc.
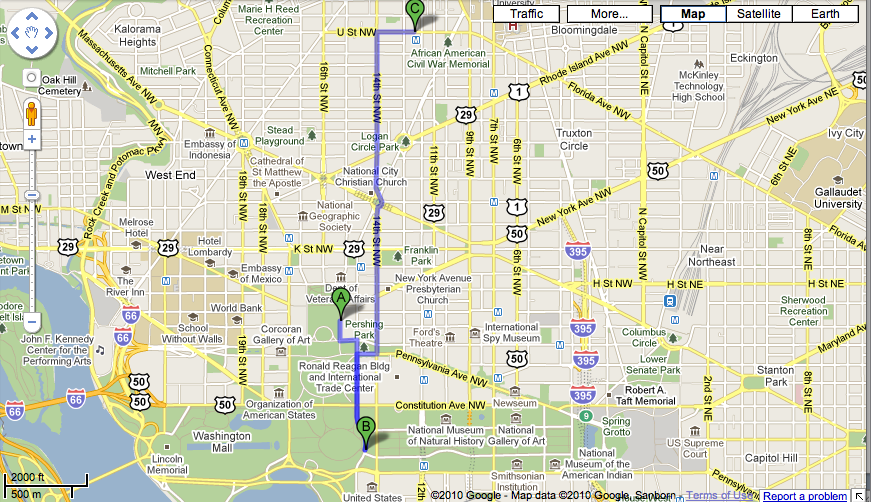
Satellite view typically gives an aerial view of the destination you are interested in. For some locations, however, like Ben’s Chili Bowl, you can zoom in to get a close-up picture of the street and building.
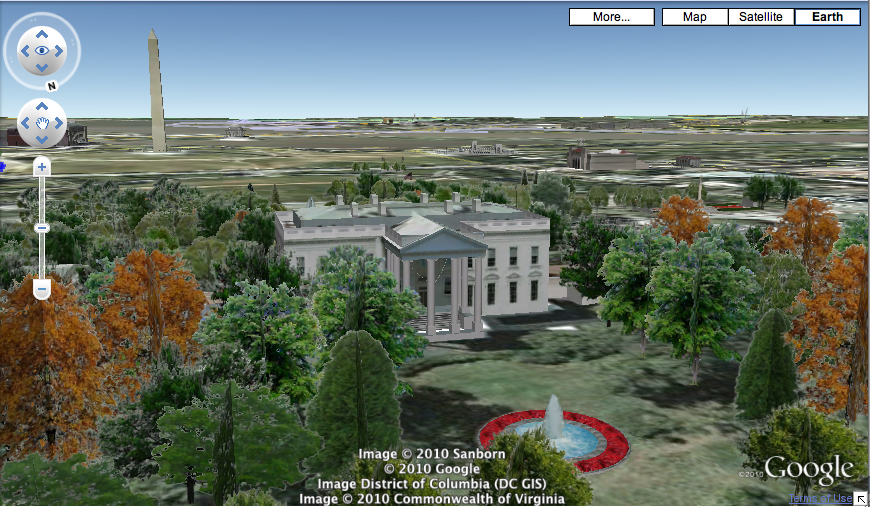
Google Earth shows a cool 3-D representation of your route. You can zoom in pretty close to see a representation of the buildings, streets, sidewalks and trees on your route. Here is the shot it gives us of the White House with the Washington Monument in the background.
These different map views are very helpful when you are planning a trip. If you are in a remote area, you get a sense of the landscape. If you are in an urban area, you can see how the street is laid out, whether it will be difficult to park there, etc.
If you need to change the order of your destinations once you have started. You can just click on the letter next to each stop on your route and drag and drop them into the order you want. Assume the Obamas want to get lunch first and then go see the Washington Monument. Just click on the “C” next to Ben’s Chili Bowl and drag it below the “A” for the White House. Voila! A new route.
Now, suppose you travel this route often and you want to save the map for future reference. After the very last destination on your route is a button that says “Save to My Maps.” Click here.
You will be asked to sign into your Google account. If you don’t have one you really should get one. It doesn’t cost you anything and gives you access to tons of free tools, like Google Reader.
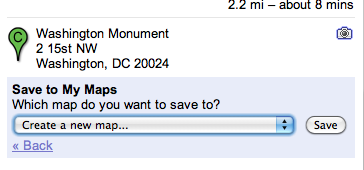
Once you are signed in the “Save to My Maps” choice will give you the option of whether you want to save this route in another map you might have saved or to “Create a new map . . .” Choose your option and click “Save.”
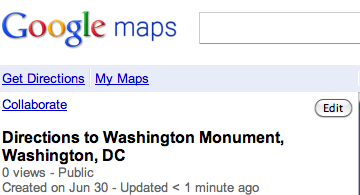
In the next screen, it shows your map. At the top there is a “Collaborate” button on the left side and a small “Edit” button appears in the upper right corner. Click on “Edit.”
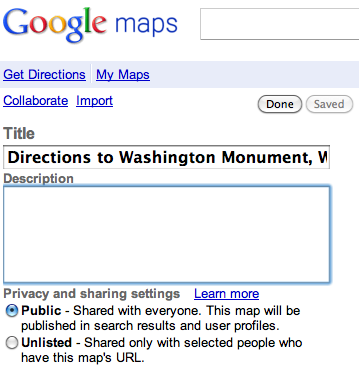
Here you can enter a description for your map. You also have the option to select whether your map should be “Public,” i.e. searchable by anyone on the Internet or “Unlisted.” If you are entering in addresses for private homes or other personal data, be sure to click “Unlisted” and then “Done.”
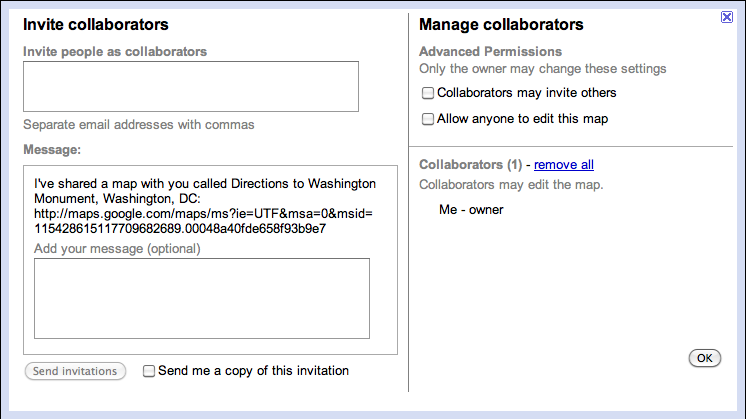
If you click on the “Collaborate” button, you can invite other people to view your map and/or edit it.
There are probably a million other features in Google Maps I have yet to discover but these are some of my favorites. I encourage you to test them out. At a minimum, plug in your own home and see what sort of zoom level the world has on your home. You may be surprised!
Have you used Google Maps? Have a navigation tip to share? Please share in the comments.


